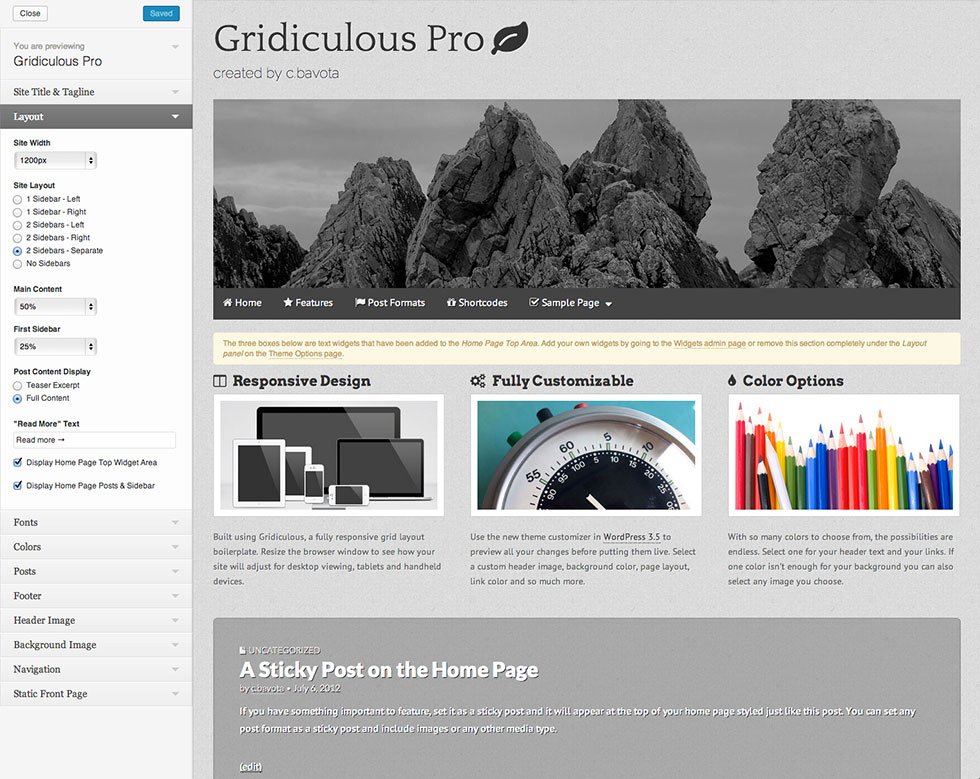
When WordPress 3.5 was released, a new theme options customizer was introduced. It allowed users to make changes to their theme options and preview it all in a simulated environment before putting it live. To take advantage of the preview and the simplicity of using the customizer, I started to incorporate all of my themes options within the same window.
To get to the Theme Options customizer you can use the link in the Appearance panel on the left on your admin or through the drop down list in the admin bar menu.
NOTE: Click on the admin bar menu item that has the same name as the theme to see the drop down list and the other included features.

The New Theme Options Customizer
My themes offer multiple options including site width, sidebar layout, fonts and colors, etc… Clicking on the panel header will reveal the options below. When you start to play around with the options you will instantly see them take affect in the preview window. When you get your site looking the way you want, just click save and your changes will go live.
Uploading a Logo
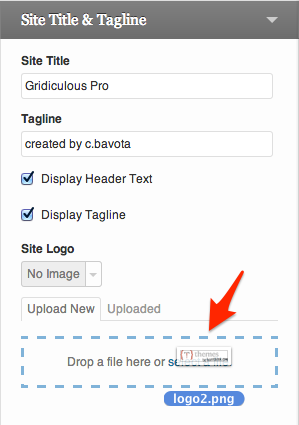
Many of our themes have the option to upload your own logo to replace the site name. All you need to do is open up the Site Title & Tagline panel and you’ll see a little box for the Site Logo. Click on that and you’ll be able to drag and drop your logo image file directly onto the little box to upload it to your site. Once it is uploaded it will appear in the live preview panel instead of the site name.

Uploading a Logo
Header Image
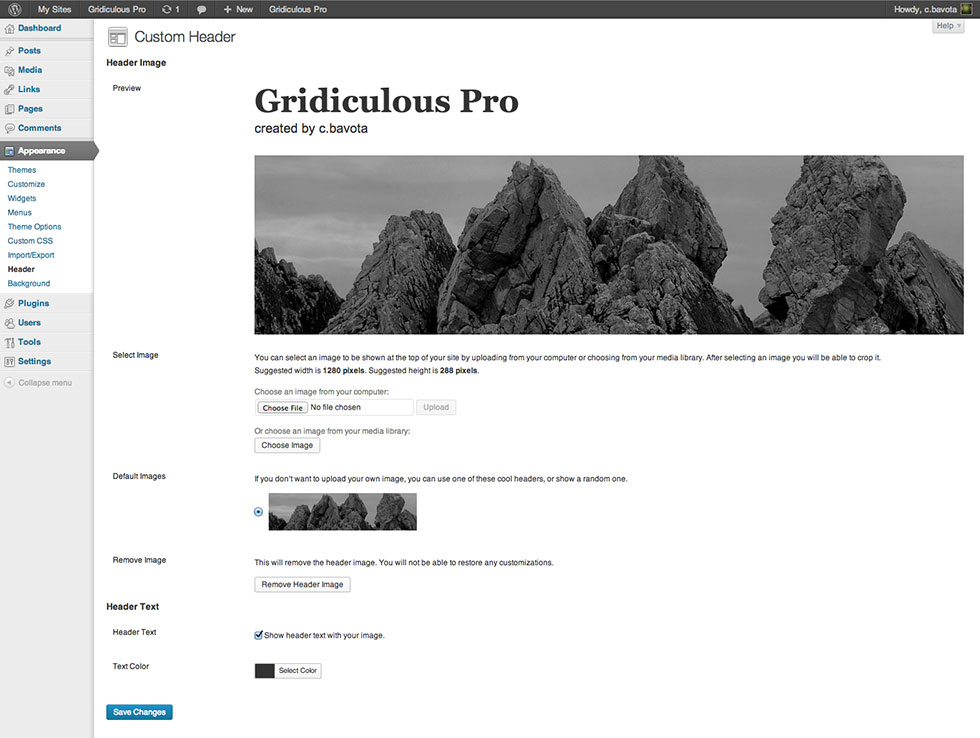
If a theme offers the WordPress header image feature, you will see the Header Image title in the customizer. Clicking on this will only reveal header images you have already uploaded or selected through the Header admin page. So in order to upload new images you will have to go to the admin page to do so.

The Header Admin Page
