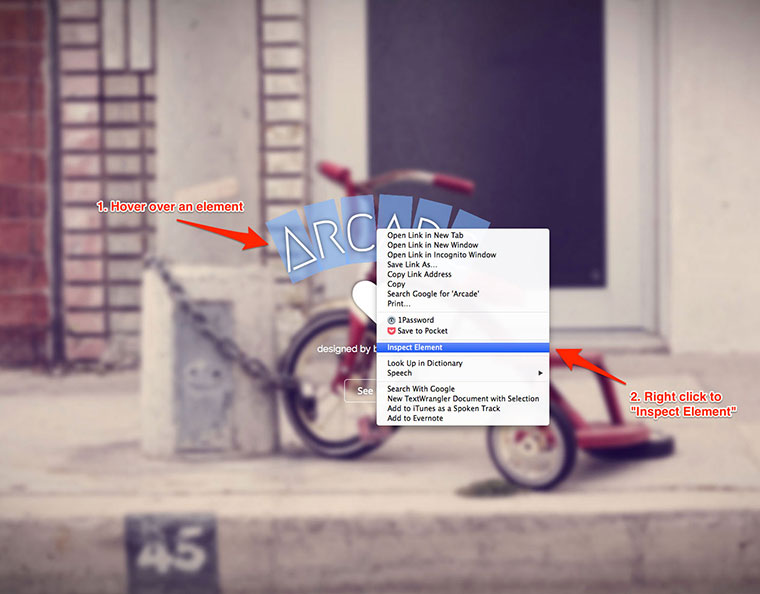
I often get a lot of support requests in regards to making small stylistic changes. This really isn’t what the support forum is for so I’m writing this doc to help guide users on how they can easily figure out how to write CSS to customize different elements on their site.
Chrome is my browser of choice when it comes to developing for the web. I’ve been using it for years and have gotten use to working with the amazing dev tools. Most browsers now have dev tools installed so even if you use Firefox or IE you can still use this doc to help guide you.

Right click to open up the dev tools.
The easiest way to get started is to right click over an element on your site and select “Inspect Element” from the contextual menu. That will automatically open up the dev console. By default, your dev console should show you HTML on the left and the CSS on the right.

Chrome’s Dev Console
In the image above, you can see the the site title uses the CSS ID selector #site-title and that is contains an anchor tag. In order to select the anchor tag, your CSS selector should look like this:
#site-title a {}
If you are interested in changing the font size for the site title, you would have to modify this CSS:
.only-on-home #site-title a {
   font-size: 120px;
}
As you can probably tell, this will only change the font size for the home page. Looking at the same element on other pages will show you that the CSS you need to change is this:
#site-title {
   font-size: 80px;
}
Adding both of the above CSS snippets to the Custom CSS editor and changing the font size will allow you to control the size of your site title.
You can do this with any element on the page and even click through the dev console HTML structure, selecting any line to see what CSS styles it. This gives you the ability to customize your theme any way you want by changing the default CSS.
